Very beginner stereoscopist :
starting with AnaBuilder
Estereocopista muy principiante:
empezar con AnaBuilder
& Didier Leboutte
Traducción en castellano de Docteur Christophe
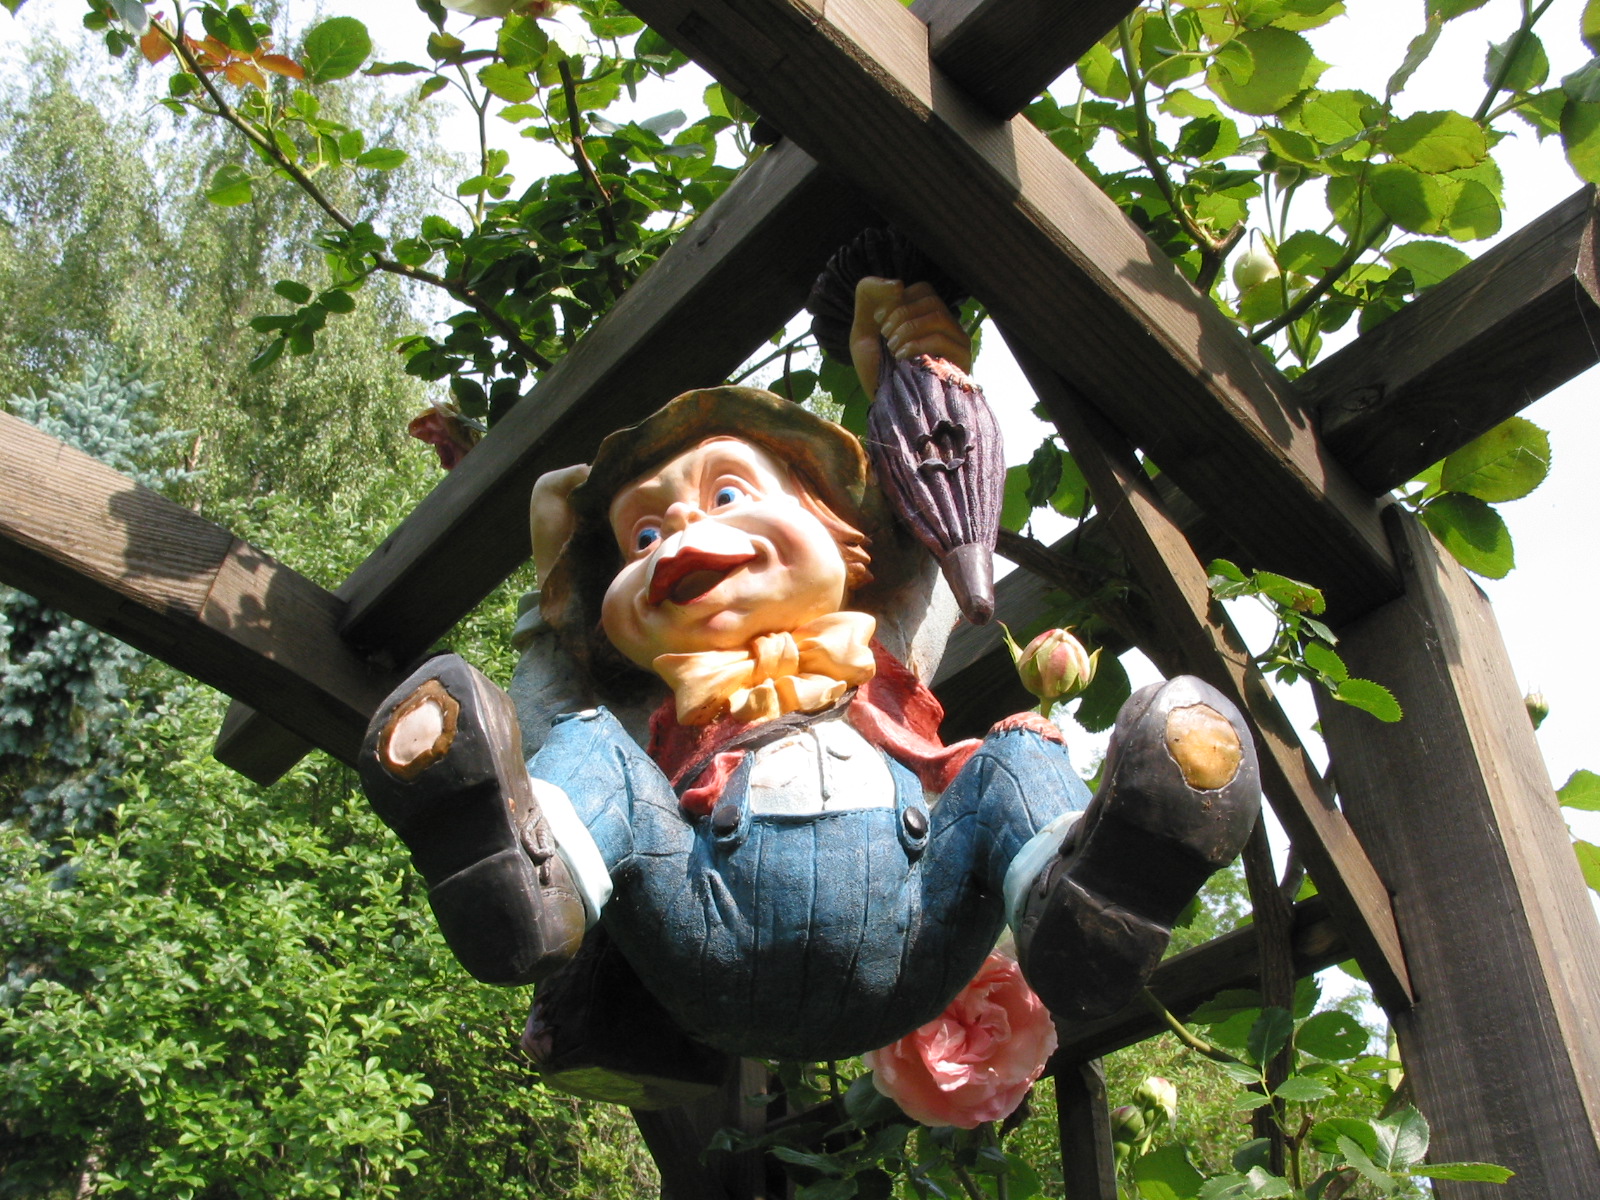
Estas son las dos imágenes utilizadas en este tutorial.
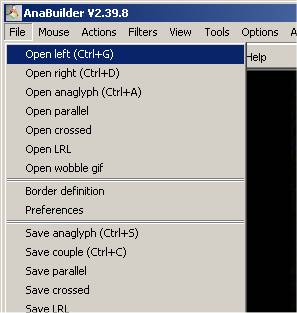
1) Open AnaBuilder
1) Abrir AnaBuilder
Double click on AnaBuilder's icon that you should have got on your desktop at installation (for automatic installers).Haz doble clic en el icono de AnaBuilder que debes tener en el escritorio después de la etapa de instalación (en el caso de los instaladores automáticos)
2) Open Left and Right images
2) Abrir las imágenes izquierda y derecha
In the "File" menu, choose "Open Left". This should open an image file browser.En el menú "Fichero", elige "Abrir izquierda". Se abrirá una ventana de navegación por los ficheros.
Busca la imagen izquierda en el disco y hacer clic en "Load".
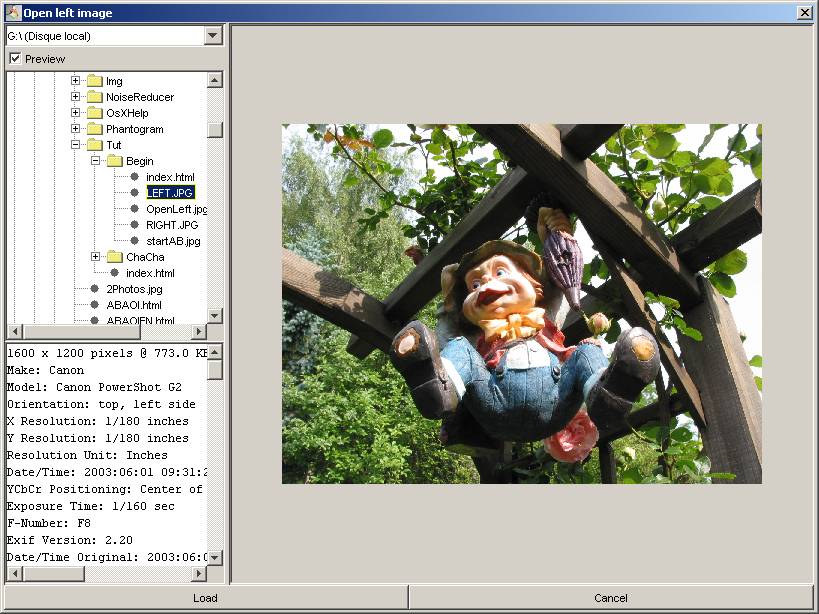
Repite la misma operación para la imagen derecha usando "Abrir derecha". Debes tener tu primer anaglifo en el panel central.
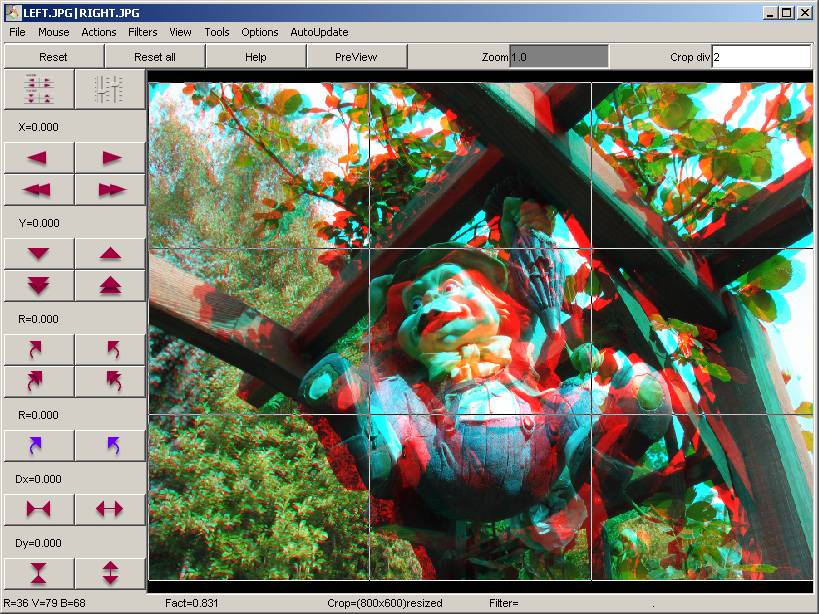
3) Automatic adjustment of the stereo
3) Ajuste automático del par estéreo
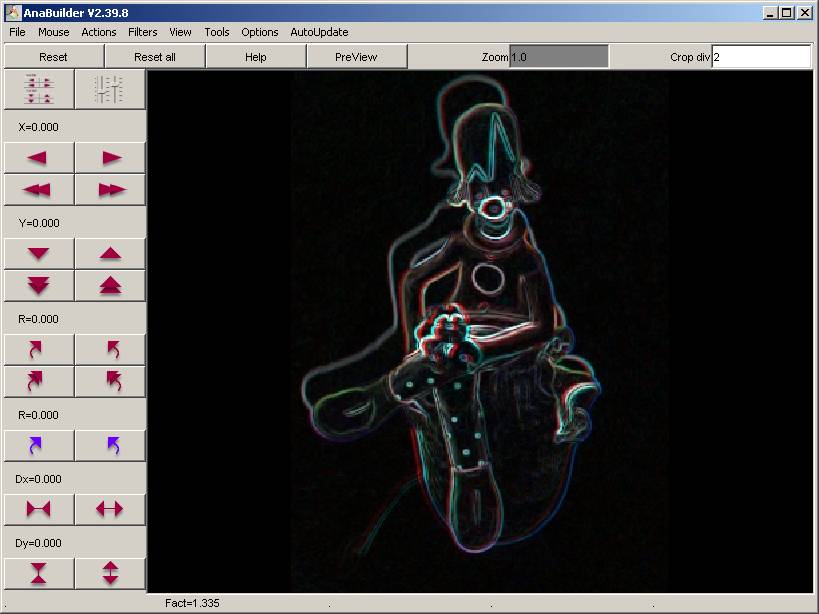
In the "Actions" menu, choose "AutoFit option : search for zero depth" (in latest version, this menu entry is named "align all behind the screen"), and then "AutoFit". En el menú "Acciones", elige "Opción AutoPosición: alinear todo detrás de la pantalla" (en la antiguas versiones esta opción de menú se llamaba "AutoFit : search for zero depth"), y después "AutoPosición".
 |
 |
This should launch the AutoFit tool. It first searches for horizontal, vertical, rotational and dilatation transformations to fit both images together at best. It then searches for the good horizontal position that will set all the scene behind the screen.
Debes arrancar la herramienta AutoPosición. Primero, busca las transformaciones horizontales, verticales, de rotación y de dilatación para aparear lo mejor posible las dos imágenes una respeto a la otra. Luego, busca la posición horizontal que deja toda la escena detrás de la pantalla.
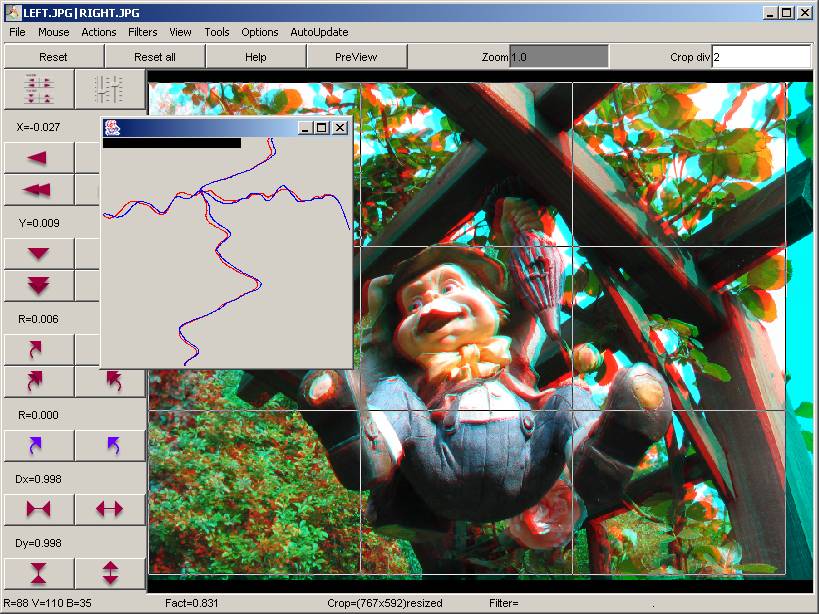
In the result :
- it should be as less vertical shift as possible. Here, there is still a small vertical shift on the imp that comes from a bad camera movement.
- the first object on the scene (the imp) should be at the screen position : exactly left view over right view, without horizontal shift. The depth plan of the scene that is exactly overlapped without horizontal shift is said to be the stereo window, and objects that are exactly overlapped, like the imp, are said to be at the window.
Como resultado:
- debe haber desfases verticales mínimos. En este caso, se queda un pequeño desfase vertical en el duende que resulta de un movimiento de cámara descontrolado.
- el primer objeto de la escena (el duende) debe estar a nivel de la pantalla: las vistas de izquierda y de derecha coinciden exactamente sin desfase horizontal. El plano de profundidad de la escena, en el cual los objetos se superponen exactamente sin desfase horizontal se llama ventana estéreo, y los objetos que están exactamente superpuestos, como el duende, se califican "a la ventana".
Remark : in many cases, using "AutoFit with borders detection" in place of simple "AutoFit" will bring you a better adjustment result.. But, this is not the case on this imp example.
Nota: en muchos casos usar "AutoPosición con detección de bordes", en lugar del sencillo "AutoPosición", ofrece un ajuste mejor... Pero no es el caso de este ejemplo de duende.
4) Backup copy of the stereo
4) Copia de seguridad de la estéreo
You should now save the result to preserve the work for later uses. The best is to save both views in a single file as a crossed stereo (left to the right, and right to the left) in full colors, and in a preserving format like PNG (the JPG format causes damages when saving).Ahora, tienes que guardar el resultado para usos ulteriores. Lo mejor es de guardar las dos vistas en un sólo fichero como vista cruzada (izquierda a la derecha y derecha a la izquierda) a todo color, y en un formato no destructor como el PNG (el formato JPG produce daños en la copia).
 |
 |
Here is the file you should get :
Aquí el fichero que debes obtener:
ImpCrossed.png
5) Final saving
You can now save the stereo in the
final stereo présentation (for example as anaglyph) and in the
final file format (for example in the common JPG compression format).
Ahora, puedes guardar la estéreo en su presentación final (por ejemplo como anaglifo) y en el formato de fichero final (por ejemplo en el clásico formato de compresión JPG).
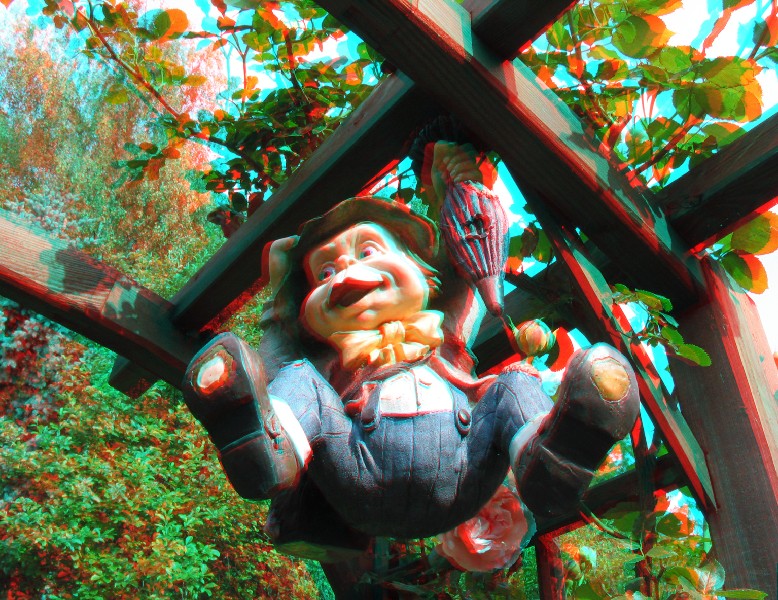
Here is the file you should get, with a large anaglyph :
Aquí el fichero que debes obtener, con un grande anaglifo:
5) Final saving
5) Archivado final
You can now save the stereo in the
final stereo présentation (for example as anaglyph) and in the
final file format (for example in the common JPG compression format).Ahora, puedes guardar la estéreo en su presentación final (por ejemplo como anaglifo) y en el formato de fichero final (por ejemplo en el clásico formato de compresión JPG).
 |
 |
Here is the file you should get, with a large anaglyph :
Aquí el fichero que debes obtener, con un grande anaglifo:
ImpAnaglyph.jpg
You can also ask to resize the image before saving.
Puedes también ajustar el tamaño al guardar.
Here is the final file you should get, with a resized anaglyph (800x600 set in Preferences) :
Y este es el fichero final que debes obtener, con un anaglifo ajustado en tamaño (800x600 definido en Preferencias):
Read the next tutorial to learn how to adjust anaglyph colors.
Leer el tutorial siguiente para aprender como ajustar los colores de los anaglifos.
You can also ask to resize the image before saving.
Puedes también ajustar el tamaño al guardar.
 |
|
Here is the final file you should get, with a resized anaglyph (800x600 set in Preferences) :
Y este es el fichero final que debes obtener, con un anaglifo ajustado en tamaño (800x600 definido en Preferencias):
Read the next tutorial to learn how to adjust anaglyph colors.
Leer el tutorial siguiente para aprender como ajustar los colores de los anaglifos.