Ultimas actualizaciones

¡La química, qué miedo!: Os oigo decir que es normal...
Formulas de Caffenol: Preparar Caffenol, es diluir café...

Distortions correction
Corrección de deformaciones

& Didier Leboutte
Traducción en castellano de Docteur Christophe

Here is the stereo example used in this tutorial. Many thanks to Wojtek for his picture !
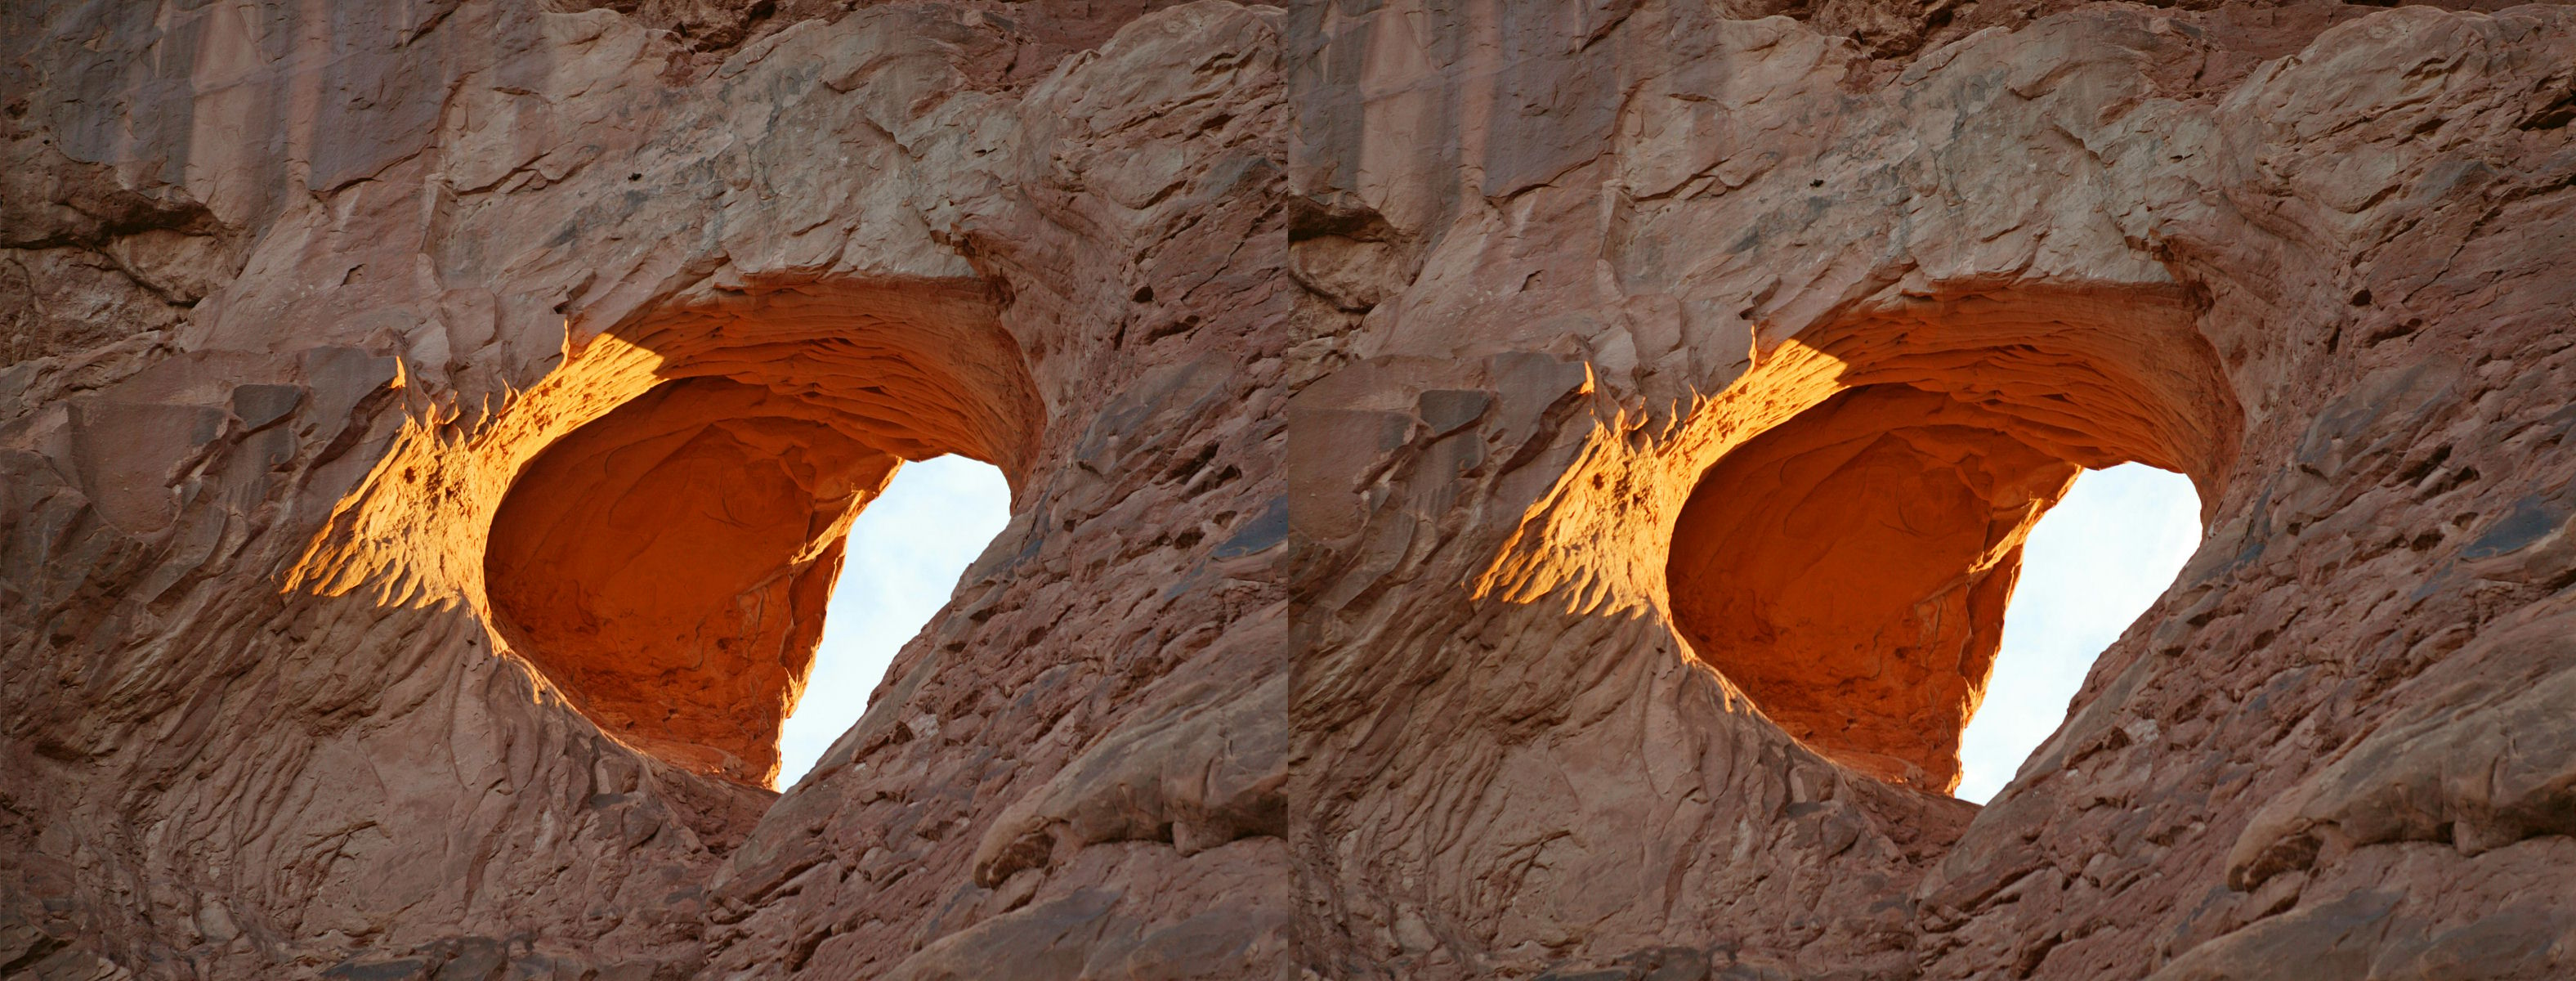
Aquí viene el ejemplo estéreo utilizado en este tutorial. ¡Muchísimas gracias a Wojtek para su foto!
StoneLightX.png (9M)
StoneLightX.jpg (643K)

1) Open the stereo
1) Abrir la estéreo

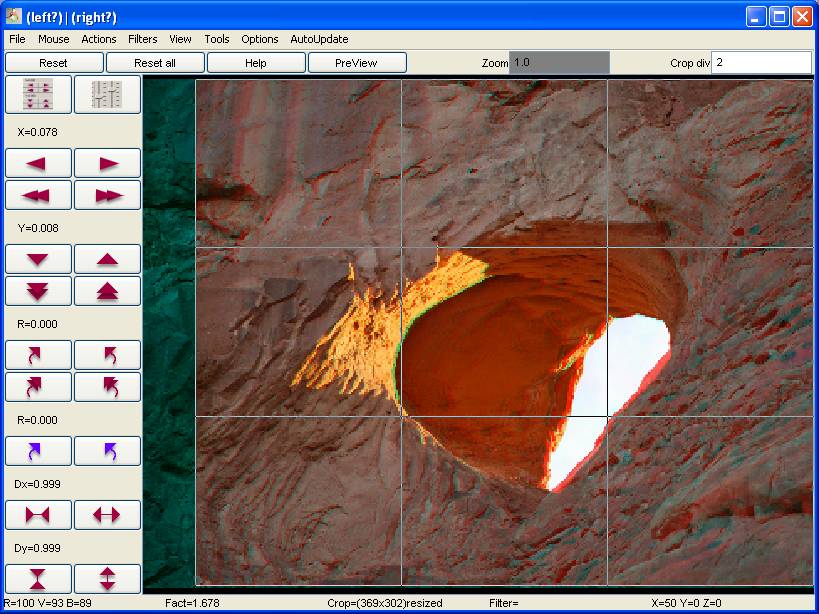
Open AnaBuilder, and drag & drop the image file to open it. You should get a stereo anaglyph in AnaBuilder's main panel.
Abrir AnaBuilder y arrastrar y soltar el fichero de la imagen para abrirlo. Debes obtener un anaglifo estéreo en el panel principal de AnaBuilder.

2) Viewing the distortion
2) Ver la deformación

Since the left/right shift is a bit large, make a first manual adjustment by clicking 5 times on the "fast to the right" button (RightBut.jpg). Then, use autofit tool to adjust the stereo, setting the stereo window on a mean value. If autofit tool does not provide with a good result on your image, you will be obliged to set it manually, but here is all the problem : it is hard to properly decide  of all basic corrections together with possible complex distortions ! But, on this example, it should work. You should then get a result where all basic corrections were calculated by AnaBuilder at best : position, rotation, scale. The quality of this automatic adjustment is the key of all the following, otherwise complex distorsions will still be mixed with basic adjustment, and it would be much more hard to fix !
Ya que el desfase izquierda/derecha es un poco grande tienes que hacer un primero ajuste manual haciendo clic 5 veces en el botón "rápido a la derecha" (RightBut.jpg). Luego, usar la herramienta Autoposición para ajustar la estéreo, colocando la ventana estéreo a un valor medio. Si la herramienta Autoposición no da un buen resultado en tu imagen, tienes que hacerlo a mano, pero eso es todo el problema: ¡Es muy difícil de decidir correctamente de los ajustes básicos junto con todas esas deformaciones complejas posibles! En cambio en este caso, debe funcionar. Debes obtener un resultado donde todas las correcciones básicas han sido calculadas lo mejor posible por AnaBuilder: posición, rotación, escala. La calidad de este ajuste es la llave de toda la continuación, al contrario todas las deformaciones complejas se mezclarían a los ajustes básicos y resultarían aun más difícil de corregir.

AutofitMenu.jpg
AdjustedFirstScreen.jpg

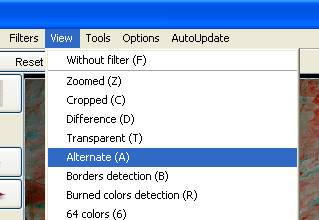
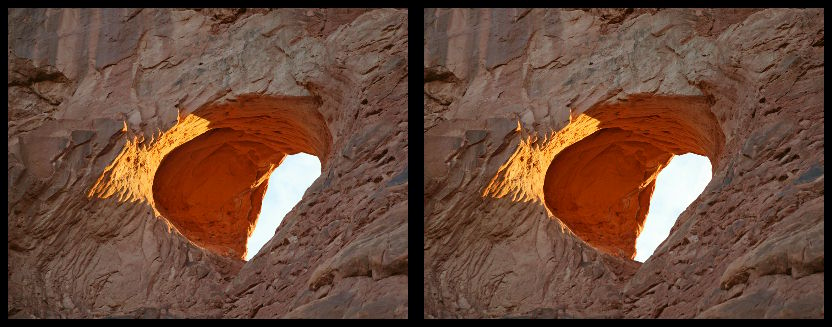
Turn viewing mode to "alternate", using the "view" menu or simply key "A". You should get left and right view continuously switching together. Looking at this alternance, you should view that the stones are not moving properly from left to right, but seem to breath like lungs (see arrows). There is an horizontal dilatation to corret.
Pasar en modo de visualización alternado, usando el menú "Ver" o más sencillamente con la tecla "A". Tienes que ver en continuo la vista izquierda y derecha alternando. Mirando esta alternancia, debes ver que las piedras no solo se mueven correctamente de la izquierda a la derecha, sino que también parecen respirar como pulmones (ver las flechas). Se tiene que corregir una dilatación horizontal.
AlternateMenu.jpg
AlternateFirst.gif

3) Dilatation correction
3) Corrección de la dilatación

Now begin the hard work, with a lot of human appreciation. Tune Dx value by clicking on "dilatation" buttons (DilateBut.jpg), or use equivalent sliders (changing the the sliders panel with button SlidersBut.jpg). You should appreciate when the stones get back they horizontal solid behavior, dealing with possible stereo shifts. Try to look from a far point of vue to better appreciate the whole sensation. It seems to me that the good point is reached for Dx=0.983.
Ahora empieza el trabajo duro, con mucho juicio humano. Ajustar el valor de Dx haciendo clic en los botones de "dilatación" (DilateBut.jpg), o usando las palanquitas equivalentes (pasando al panel de palanquitas con el botón SlidersBut.jpg). Debes sentir que las piedras vuelven a tomar un comportamiento de solido, al componer con los desplazamientos estéreos. Probas mirar desde un punto alejado para una mejor sensación general. A mí, me parece que se llega a este punto para Dx=0,983.
AlternateAdjustDil.gif

Remark : in this treatment you can ask to save the stereo as wobble gif with a high alternating speed to better appreciate (don't forget to ask for "resize at saving" with smaller size in Preferences, to go faster). Then, visualize the wobble with your internet browser.
Nota: En este proceso puedes pedir de guardar como wobble gif con una grande velocidad de alternancia para apreciar mejor este efecto (no olvidar de seleccionar "redimensionar antes de guardar" con un tamaño mas pequeño en las preferencias para ir mas de prisa). Luego, visualizar el wobble con tu navegador Internet.

4) Viewing the trapezoidal distortion
4) Ver la deformación de trapecio

Click 2 times on the "move right" button (SmallRightBut.jpg) to adjust the stereo window on the top left of the scene (X=0.081). If you look at the result, the stones still seem to breath a little. But now, there is like a diagonal pixel sliding. It is more sensible at top left than on the middle. It's more visible on a fast wobble gif. On this example, this is a very light sliding, an other example, more evident, will be presented in a next tutorial.
Haz clic dos veces en el botón "mover derecha" (SmallRightBut.jpg) para ajustar la ventana estéreo arriba a la derecha de la imagen (X=0,081). Si miras el resultado, las piedras parecen respirar todavía un poquito. Pero ahora, el desplazamiento de pixeles se hace en diagonal. Se nota mas, arriba a la izquierda que en el centro. Se nota aun mas en un wobble gif rápido. En este ejemplo, es un desplazamiento muy leve, veremos otro ejemplo, mas evidente en un tutorial próximo.
AlternateTrap.gif


5) Trapezoidal correction
5) Corrección de trapecio

Open the trapezoidal filter panel. Then, slowly adjust together the "Trap X right %" and "Trap Y right %" values to reduce the pixel sliding and improve the impression that the stones are solid : just rotating, keeping their consitency. It seems to me that the good point is obtained for X=1.1 and Y=0.6.

Abrir el panel de filtro de trapecio. Luego, ajustar despacio todos los valores "Trap X derecha %" y "Trap Y derecha %" de manera a reducir el desplazamiento de pixeles y mejorar la sensación de que las piedras son solidas: solo en rotación conservando su consistencia. Me parece que la buena posición se obtiene para X=1,1 e Y=0,6.
 TrapMenu.jpg
 TrapPanel.jpg
AlternateAdjustTrap.gif
.
.

6) End
6) Fin

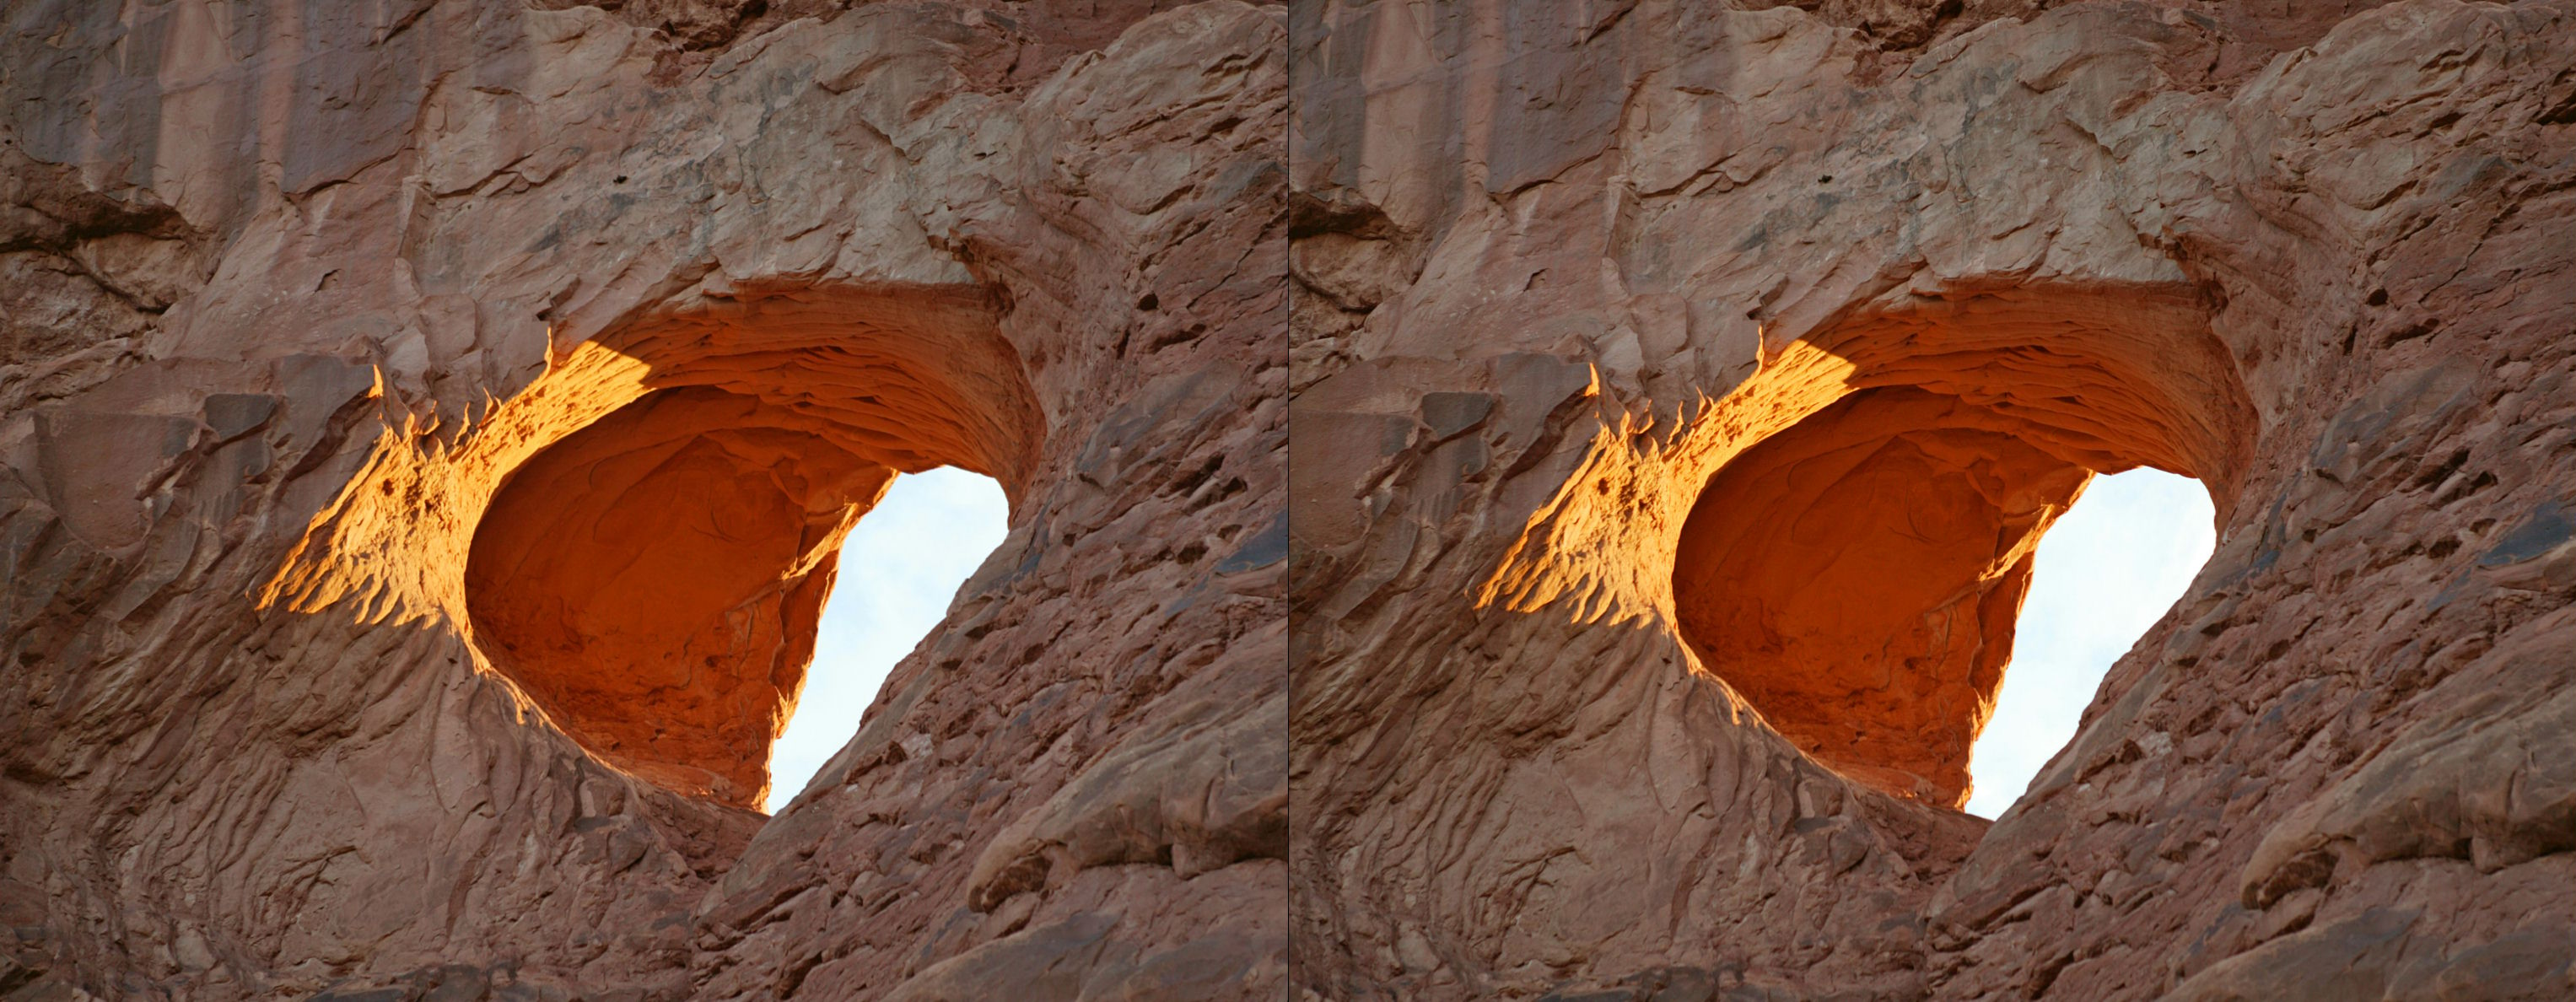
Adujst the final stereo window at your taste, and save. Here is my result.
Ajusta la ventana estéreo final a tu gusto y guardar. Aquí está mi resultado.
FinalX.jpg

FullSizeFinalX.jpg